
Working with activities in GCompris
In my previous post, I talked about setting up GCompris, and running it using QtCreator. In this one, I will be talling about my journey towards creating a new activity for GCompris.
Basic Structure
The goal of this activity is to identify numbers in ascending order. Few blocks of numbers will be provided to the user, and the user will have to click all the numbers, in ascending order (i.e. the smallest number should be clicked first, and the largest number in the last).
Creating the activity
Creating an activity in GCompris is very simple. First we create a new branch in git and shift to that branch. For that, we use:
git checkout -b "ascending"
Move to the directory qrc:src/activities and run the script createit.sh with the name of the activity as arguments. In this case, it looks like this
./createit "ascending_order"
Open the ActivityInfo.qml and fillup the basic setup for the activity.
Core Functionalities
1. The Building Blocks
First, we need to dynamically create n number of Rectangle elements, each containing a GCText element. The Rectangle object typically looks like this:
Rectangle {
    property int imageX: 0
    width: 360/2
    height: 360/2
    radius: 20
    color: "blue"

    MouseArea {
        anchors.fill: parent
        onClicked: Activity.check(numText.text)
    }

    GCText {
        id: numText
        anchors.centerIn: parent
        text: imageX.toString()
    }
}
The MouseArea creates anchors and onClicked options. When the Rectangle is pressed, a check() method is called (To be discussed later).
The previous block of code defines only one Rectangle element. In order to create them dynamically, we need to enclose them in a block of Repeaters and Grids (for creating grids of Rectangle)
Grid {
    id: grids
    rows: 1
    spacing: 12
    Repeater {
        id: boxes
        model: 4
        Rectangle {
            property int imageX: 0
            width: 360/2
            height: 360/2
            radius: 20
            color: "blue"

            MouseArea {
                anchors.fill: parent
                onClicked: Activity.check(numText.text)
            }

            GCText {
                id: numText
                anchors.centerIn: parent
                text: imageX.toString()
            }
        }
    }
}
2. Accessing dynamically created Rectangles via js
We create a QtObject containing the QML objects which are to be accessed from the javascript file.
QtObject {
    id: items
    property Item main: activity.main
    property alias background: background
    property alias bar: bar
    property alias bonus: bonus
    property alias grids: grids
    property alias boxes: boxes
}

// Activity = ref. to the js file

onStart: { Activity.start(items) }
onStop: { Activity.stop() }
start(items) and stop() are two functions in the javascript file.
The start(items_) method is pretty straightforward and self explanatory
function start(items_) {
    items = items_
    currentLevel = 0
    initLevel()
}
initLevel() initialises the current level number in the bar to be currentLevel+1 and calls the method to initialise the grids. For initialising the grids, we set the model value of the Repeater to 2*(currentLevel+1)+1 ( Note - currentLevel starts from 0 ). We then call a function to generate random numbers and store it in array num[], and then we store these values in the Rectangles.
function initLevel() {
    items.bar.level = currentLevel + 1
    initGrids()
}

function initGrids() {
    items.boxes.model = 2*(items.bar.level)+1
    items.grids.columns = items.boxes.model

    generateRandomNumbers()

    for(var i=0;i<items.boxes.model;i++) {
        items.boxes.itemAt(i).imageX=num[i]
    }
}
The generateRandomNumbers() function is also straightforward. It generates a random number from 0 to a given range (=(level number)*10).
function generateRandomNumbers() {
    var n=items.boxes.model
    // generate n random numbers and store it in num[]
    num=[]
    var upperBound = (items.bar.level)*100
    while(num.length < n) {
        var randomNumber=Math.ceil(Math.random()*upperBound)
        if(num.indexOf(randomNumber) > -1) {
            continue;
        }
        num[num.length]=randomNumber
    }
}
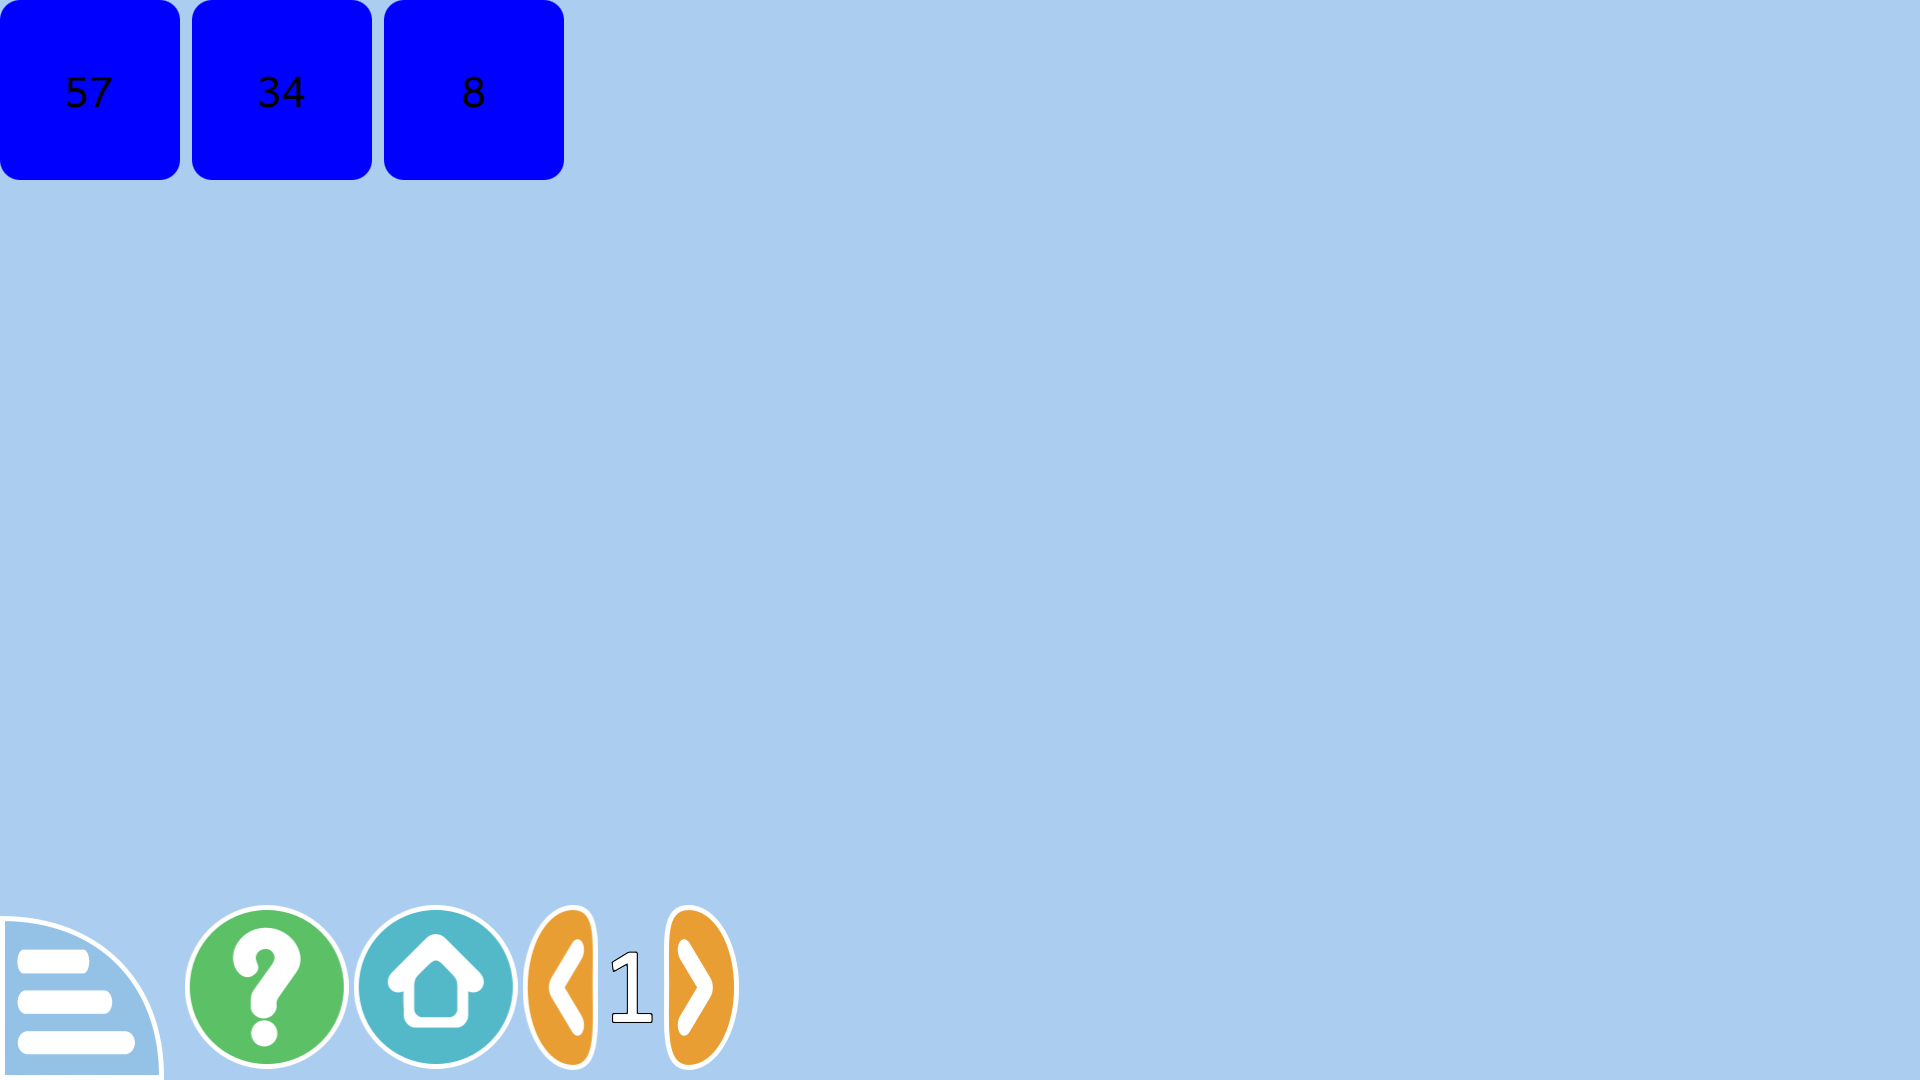
At this stage, the activity looks like this:
Next Challenge: Adding the logic to detect ascending sequence
Let me know what you think of this article on twitter @RudraNilBasu or leave a comment below!